Bay Area Wedding Photography - Achieving "The Look"- TréCreative Tips&Tricks
“Stunning! I want so badly to be achieving the look you guys always seem to get! How in the world do you get such great sharpness and exposure? Is it in the editing? Or is it in the camera? I’d love to know for my own business, please! As always, this is absolutely beautiful.”
— Angela
Recently we’ve been getting questions from other photographers like the one above who are wondering more about our approach to taking photos. Well, we’re here to help! We love when photographers ask questions in our blog's comments. We are so happy to be able to share what we’ve learned and hopefully inspire you all to push yourselves further, whether it’s in your business, your photography, or your personal life!
While we're always growing and learning new techniques, here’s a few Tips&Tricks we can share to point you in the right direction. If you’re still having trouble, we’d be happy to schedule a personal mentoring session with anyone looking for personalized help!
1. Gear
We're putting this first, but it is by far NOT the most important thing. Some people think that better cameras = better photos and that couldn't be further from the truth! When it comes to gear, we always recommend people “invest in glass”. By that we mean—spend your money on lenses, not camera bodies!
Camera bodies can be swapped out as newer versions come out, but if you have invested in quality lenses, they hold their value well and can be used on future camera upgrades! We shoot almost exclusively with prime lenses. This means that our lenses are fixed focal lengths, not zoom lenses. The reason being, prime lenses have lower f-stops, meaning they can help you get that creamy out of focus background you’re looking for. Prime lenses tend to also be sharper than zoom lenses, and work better in low-light situations which is great for wedding photography! If you have lens questions, leave a comment below and we can help point you in the direction of a good lens or two to start out with!
The biggest lie you can believe is that your photos are not good because of your gear. Good gear does not make a good photographer! We encourage all photographers to use what they currently have (even if that's just an iPhone) and continue to push themselves with it until it makes sense to upgrade! Along with gear, it’s not the quality of the gear but more how you use what you have to achieve what you’re looking for. Camera settings play a big role in achieving a sharp, crisp and clear photo. We recommend learning your gear well, dive into the manual, the menu and settings and experiment with what works best for you. We shoot on full Manual at all times to make sure we have full creative control over any setting we want to change around. Shooting on manual takes time to learn, and can be SO confusing at first. But stick with it, it's worth it! We encourage anyone learning to force themselves to shoot on "M" and soon it’ll become second nature and you’ll be changing settings without even thinking!
2. Editing
Editing can be one of the most overlooked aspects of photography! We take time to hand touch every image that we deliver to our clients, whether that’s adjusting the color temperature, tweaking the color levels, softening skin, etc. In editing you can do so much, or so little! We strive to make our images look natural and timeless, not applying any filters or effects to them that would take away from the true nature of the moment captured. We use Adobe Lightroom CC to edit all our photos. We love how easy it is to organize, rate, tag and edit photos within Lightroom without having to go to more extensive and in-depth programs like Photoshop. There are rare occasions we'll use Photoshop, but only for “major edits” like removing items in the background, swapping faces, etc. In Lightroom our priority is accurate skin tones and color. We want to make our couples look true-to-life, with a color temperature that’s not too warm or too cool. This is a fine balance, and it takes training your eyes over time to notice the small shifts in color that can affect a photo one way or the other. There’s TONS of editing tutorials out there, but if you’d like to see how we edit make sure to follow Stephen on Periscope, a live streaming app (@steezdiaz) as he does frequent live editing scopes with in-depth tutorials and behind the scenes look into our process.
3. Lighting
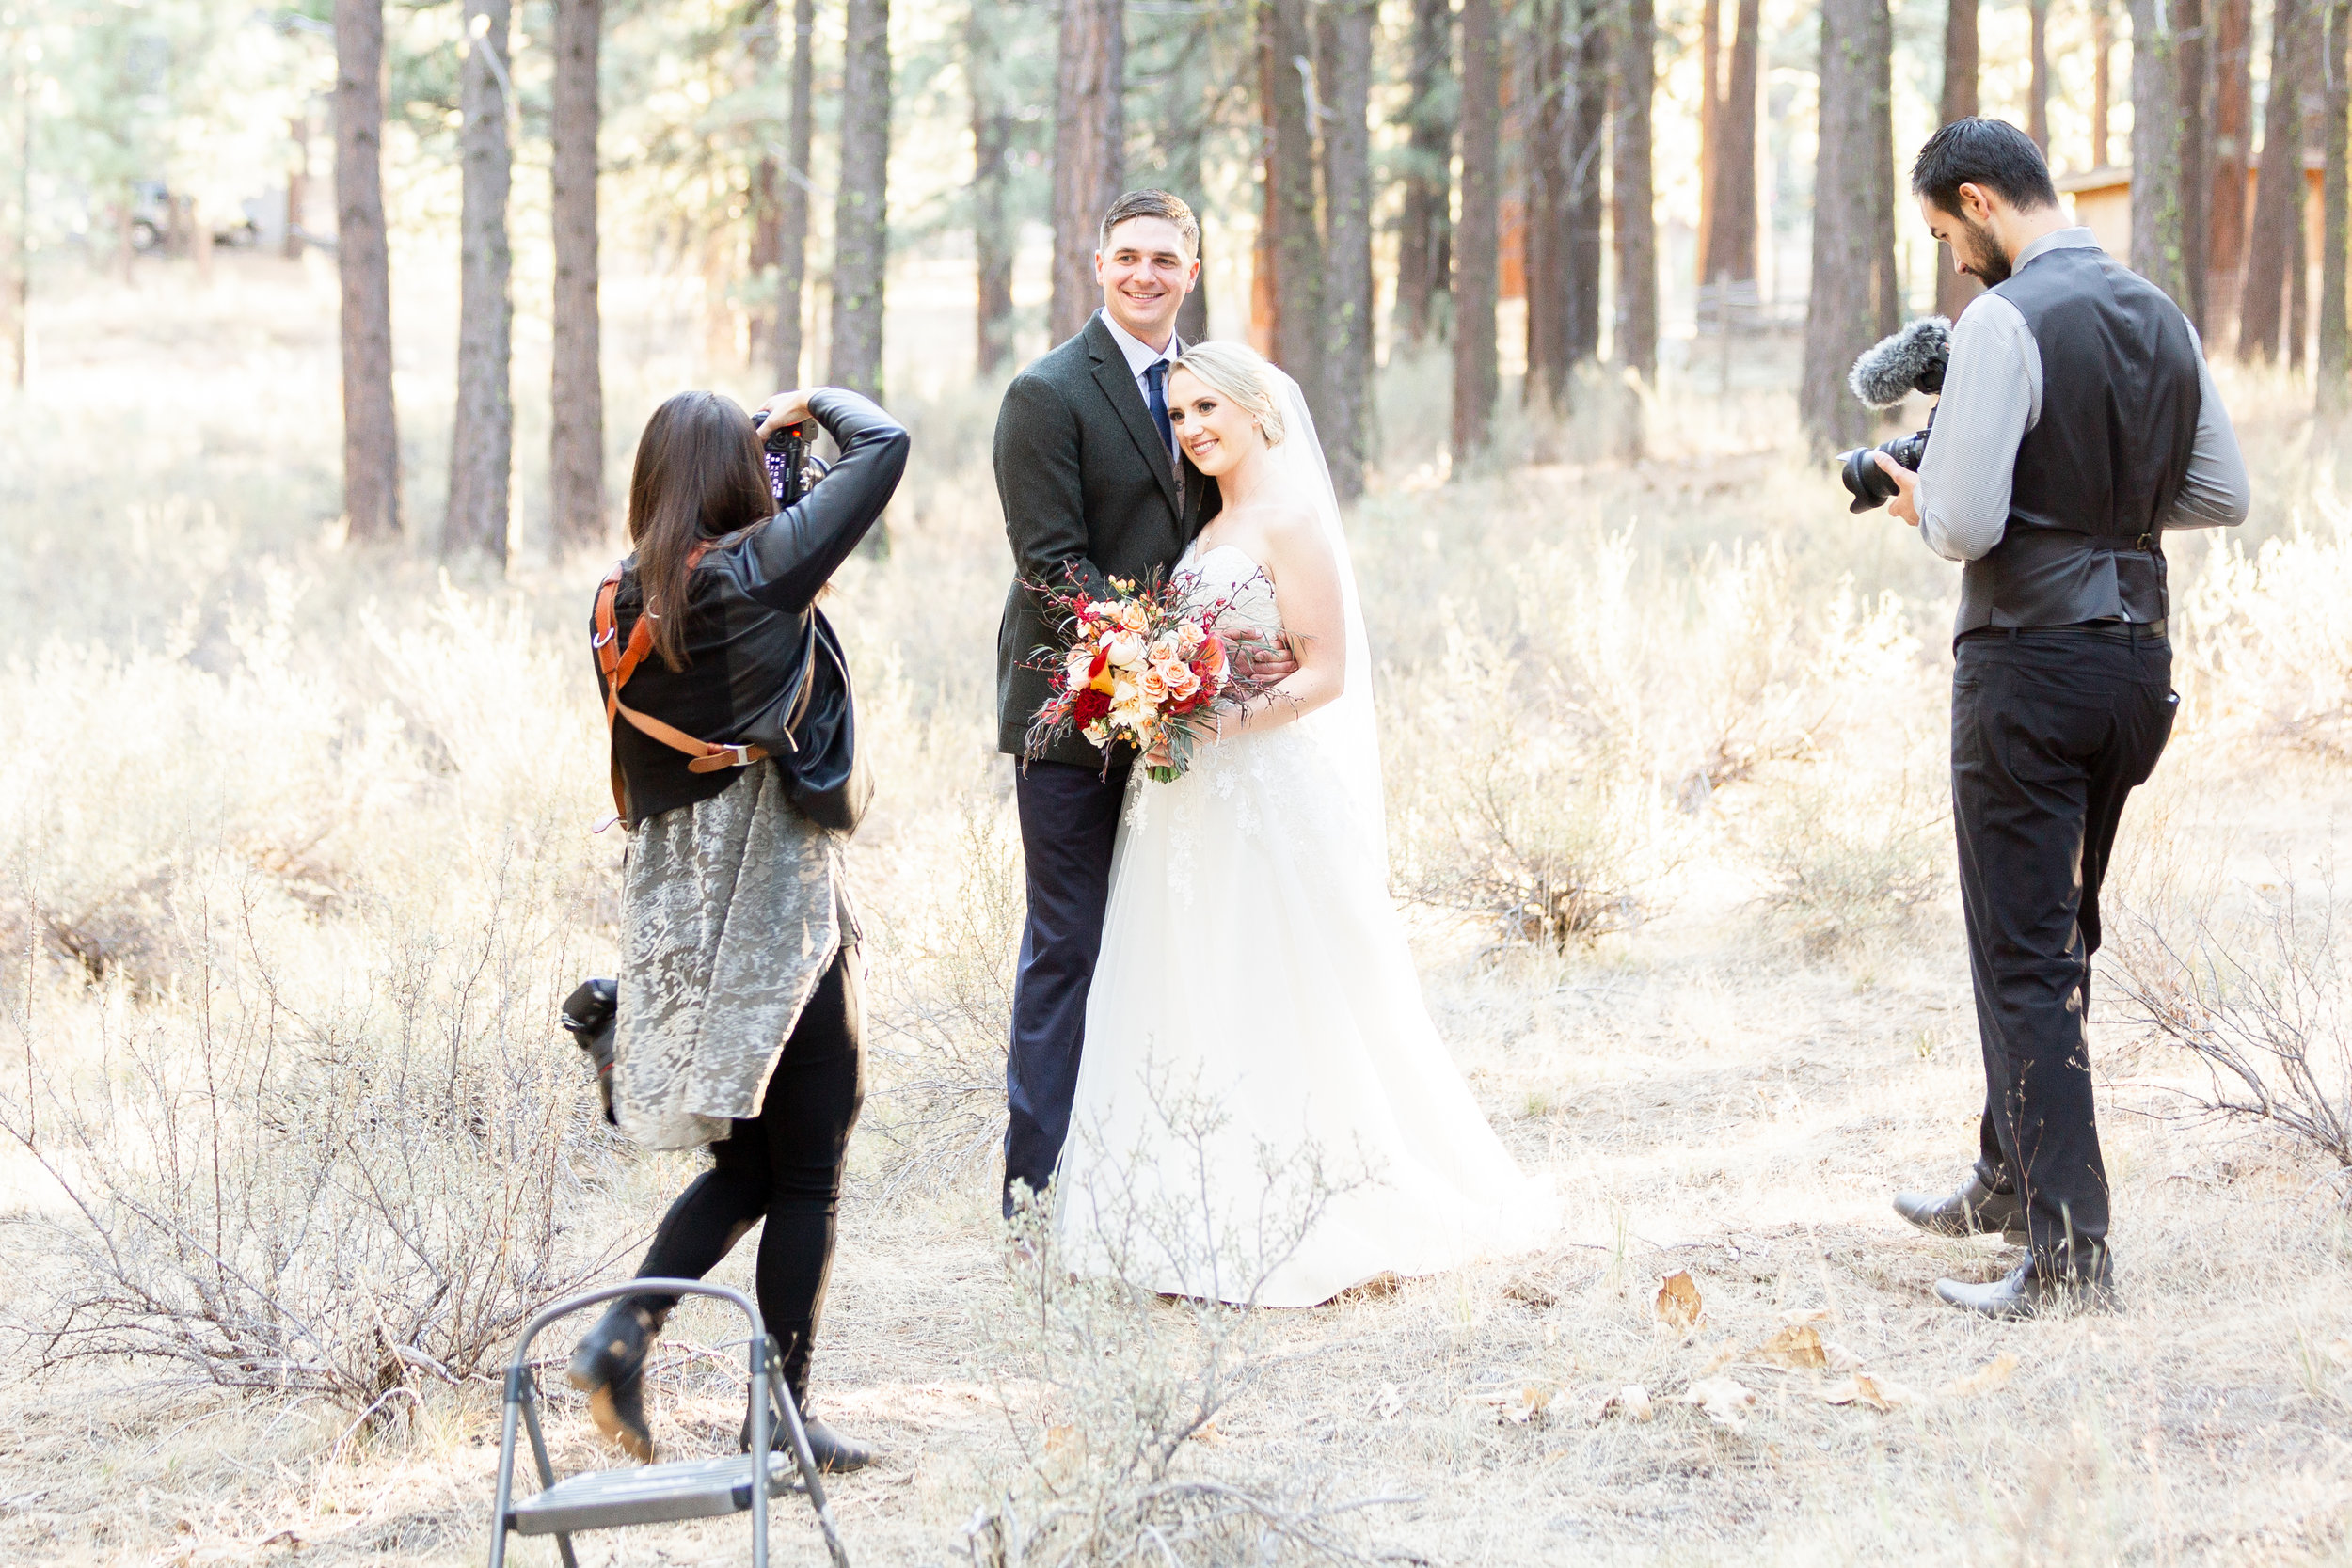
Out of the three tips we're mentioning today, we're saving the best and possibly the most important for last! Achieving the perfect look is very heavily related to lighting! There are so many factors that play into lighting and how it affects a photo. For this reason, we always choose our photography locations based entirely on lighting, not the scenery! You’d be surprised how some spots that you would think would look great in photos actually look terrible because of the lighting. Here’s three things to keep in mind when looking for good lighting for photography.
Natural Reflectors - It has taken us lots of shooting time to train our eyes to see the natural reflecting light that comes off of objects all around us. Sounds like a crazy super power but you can do it too! This reflecting light really effects your photos and it’s a good idea to keep an eye out for it. Say if you place your subject on green grass, surrounded by green trees. What color is the reflected light going to be? If you answered GREEN, you were correct! This will give just the slightest tint of green to the skin tones which is never flattering (unless you're the Hulk)! For the best and most accurate skin tones look for neutral natural reflectors, like a light colored pavement or a white wall. These surfaces bounce light in a way that is just perfect for portraits. When in doubt you can bring your own reflector. We'll use these in a pinch when there's no good natural reflectors around...but if you look hard enough, you'll be able to find some, promise!
Timing - If you’ve been around a photographer or filmmaker before, you’ve probably heard them talk about “golden hour”. It’s the time when the sun is lowest in the sky, when everything is dreamy and golden. This is our favorite time to shoot as the shadows are long and soft (as opposed to the harsh dark shadows at high noon). We schedule all our of engagement shoots for about 1-2hrs before the scheduled sunset time. That way we can catch that golden hour every time!
Backlighting - We always try when we can to put the sun behind our couples. That way we’re shooting towards the sun, with the couples between us and the sun. If the sun is too harsh you can angle slightly away from the sun so that it’s not hitting your lens directly. When the sun hits your lens directly it creates sun flare which can be a cool effect...but it really washes out your subject and makes the photo hazy. To ensure your subject stays nice and sharp and to avoid haziness we have a couple tricks. First, you can use a lens hood or your hand to help reduce how much the sun is hitting your lens. Although, what we’ve found works best to reduce flare when shooting directly into the sun is to use natural “blockers” as we call them to block out the sun in the background. This could be anything, the edge of a building, a tree branch, a distant land feature, etc. When you block the sun from hitting your lens, your images will be tack sharp and in focus.
We hope these tips and tricks help all you out there become a more awesome photographers, whether it's your full time job, your part time job, just a hobby or even just to make your iPhone'd Instagram's more fabulous! If you want to read more TréCreative Tips&Tricks below, check out the following links:
For Brides:
Planning the Perfect Wedding Day Schedule
Five Common Engagement Questions Answered
Planning for Wedding Family Formals
For Photographers:
Traveling with Camera Equipment
TréCreative Tips&Tricks - The Importance of Backup
More soon! Search around on our Tumblr blog for more inspirational and educational posts as well!